Follow the first steps to work with the notebooks in the cloud:
- Create a Microsoft Azure Notebooks. Head to the website and click on sign-in (upper right corner). Use your university email address and set a password.
- Make sure you are logged into your account.
- Go to the Notebook in this website that you want to run in the cloud and click on the Cloud icon located at the bottom right corner of your screen.
- This should take you to the library where the notebooks are saved to.
- Click on the notebook’s line (it should highlight the whole line)
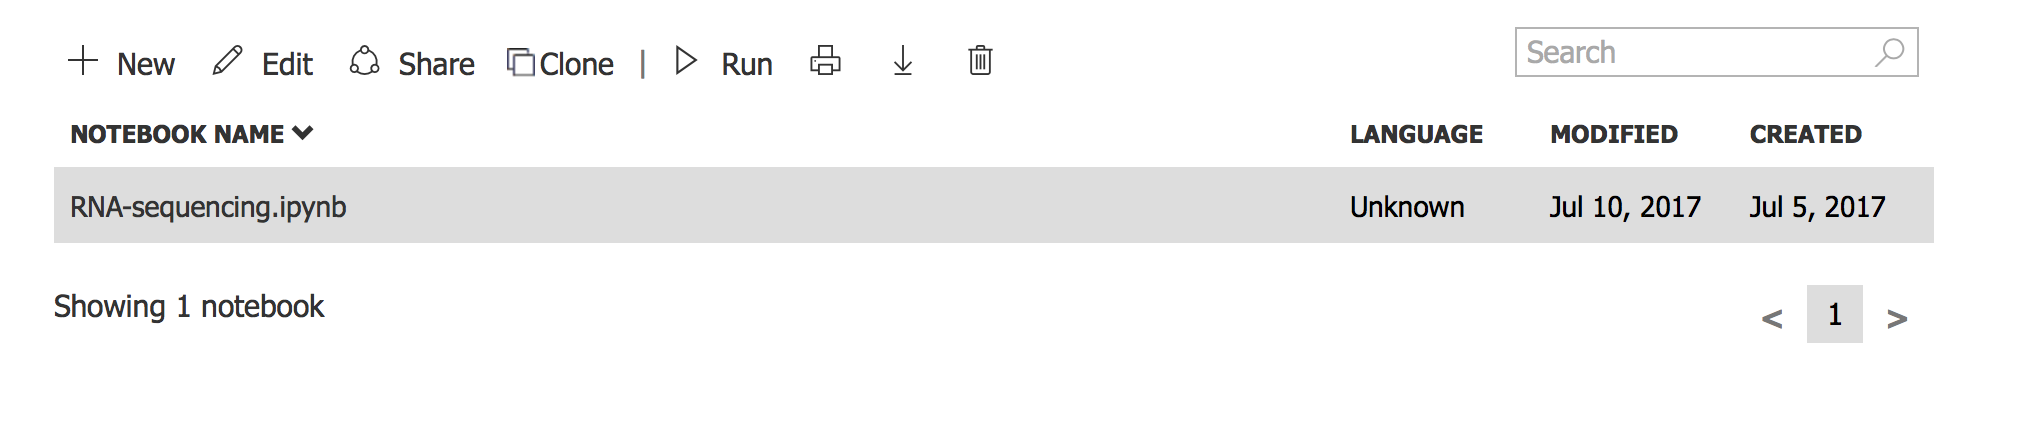 .
. - Click on the clone icon and create a new library to which this will be cloned. This will allow you to have your own copy of the notebook.